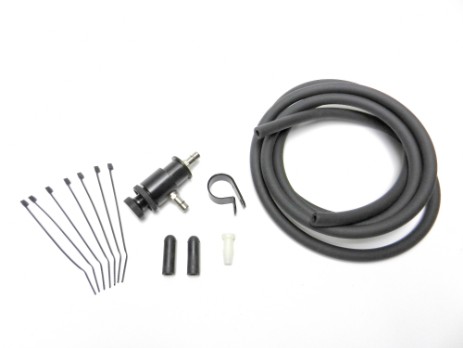
Technical and Support

How do I adjust the boost?
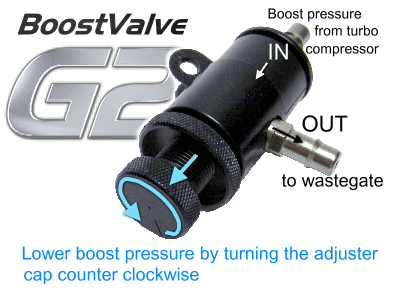
Adjusting the BoostValve is simple. Turn the cap and secure with the locknut. To lower the boost unscrew the cap. To raise boost screw the cap in. With the standard low pressure spring one turn is approximately a 1.5 psi boost change. When finished before going on a test drive always use a wrench to tighten the locknut, finger tight is not tight enough, the cap may vibrate loose if not tight. No need to really torque it down, just make sure its snug.
(A good general starting point for most cars: Screw the cap all the way in and then count back 6 turns as you unscrew the cap).
Do I need a boost pressure gauge?
A boost gauge is not absolutely necessary but is helpful. By using a boost pressure gauge you can monitor your boost before making any changes to the car and you will have a good reference point to start with. You'll see when the boost rises and how much boost your stock system supplies. This way you'll always know how much boost you are running before and after installing your BoostValve kit. If your car does not have a factory boost gauge you may want to consider purchasing a gauge or an OBD-II monitor.

First double check your install to make sure you followed the instructions correctly and most importantly did not install the valve backwards. The side port closest to the adjuster cap will always connect on the side that goes to the waste gate. If you took the valve apart the ball is always placed inside first followed by the spring.
Boost is too low.
If no matter how far you screw in the cap and the boost stays at the factory level, there's a chance the ball is not sealing properly inside the valve due to debris or oil contamination. Unscrew the cap and clean inside the valve. Use a solvent that does not leave behind any oily residue. Brake cleaner or isopropyl (rubbing) alcohol works fine. Do NOT use WD40, or carb cleaner both will leave a sticky residue.
